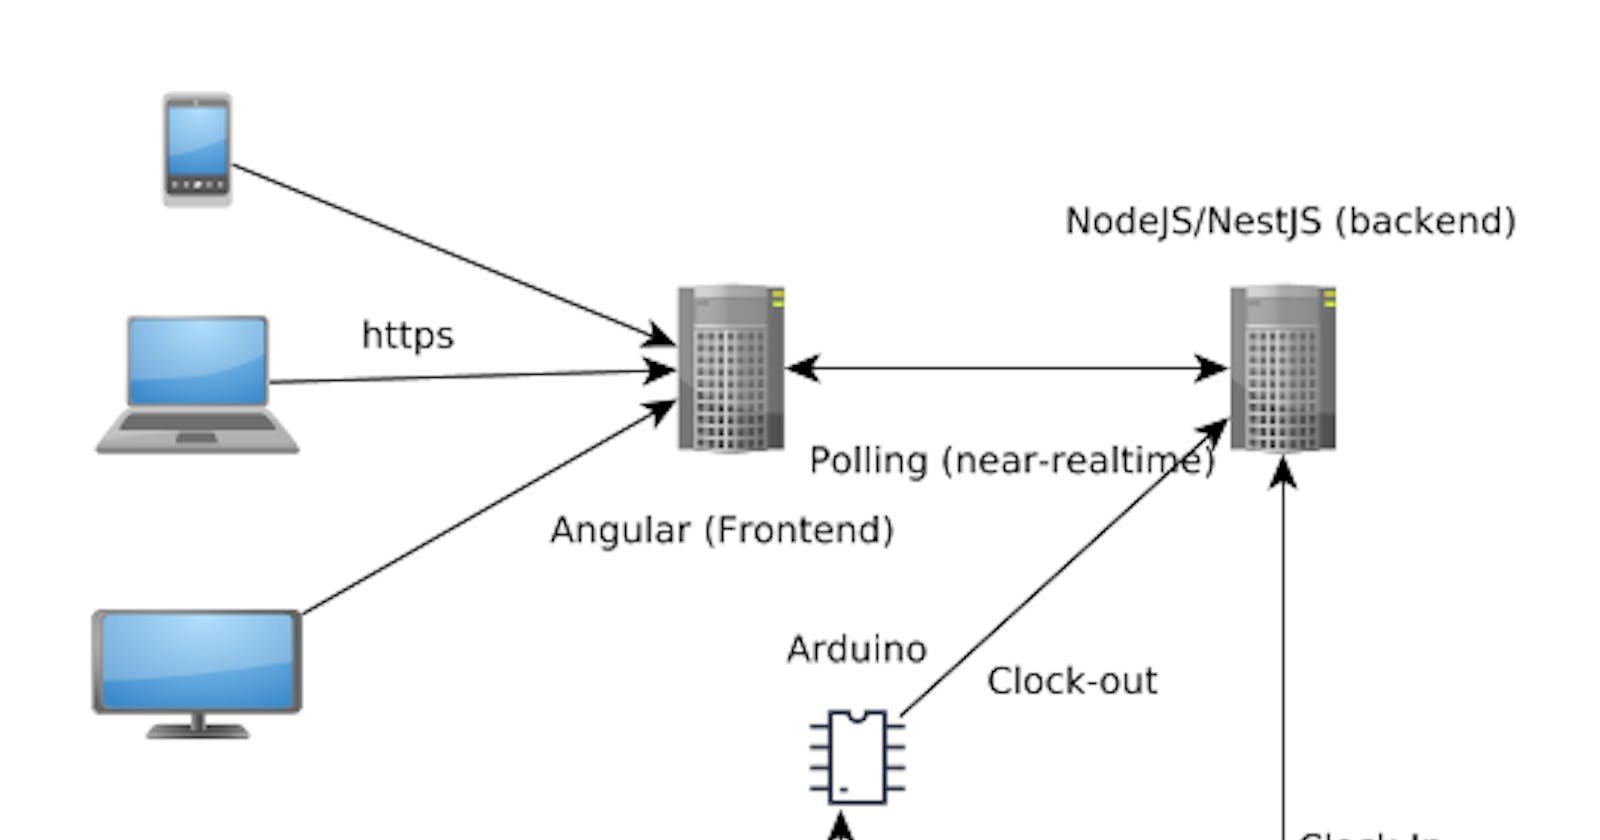
Part 8. Clock-in/out System: Deploy frontend (Angular 6+) using environments
This post is part of a Series of post which I’m describing a clock-in/out system if you want to read more you can read the following posts:
- Part 1. Clock-in/out System: Diagram.
- Part 2. Clock-in/out System: Basic backend - AuthModule.
- Part 3. Clock-in/out System: Basic backend - UsersModule.
- Part 4. Clock-in/out System: Basic backend- AppModule.
- Part 5. Clock-in/out System: Seed Database and migration data
- Part 6. Clock-in/out System: Basic frontend.
- Part 7. Clock-in/out System: Deploy backend (nestJS) using docker/docker-compose
- Part 8. Clock-in/out System: Deploy frontend (Angular 2+) using environments
- Part 9. Testing: Backend Testing - Unit Testing
- Part 10. Testing: Backend Testing - Integration Testing
- Part 11. Testing: Backend Testing - E2E Testing
- Part 12. Testing: Frontend Testing - Unit Testing
- Part 13. Testing: Frontend Testing - Integration Testing
Introduction
In the last post (Part 7. Clock-in/out System: Deploy backend (nestJS) using docker/docker-compose), we deployed our system’s backend using environment variables and docker/docker-compose in a production server. In this post, we will deploy our frontend, developed in Angular, using environment variables (created with Angular CLI) and docker/docker-compose.
Here is a common solution for the management of environment variables in angular, using angular-cli (which we will use shortly). Another solution is to create your own deployment system by using a tool such as gulp or webpack.
Finally, our code is deployed using docker’s containers. We will create an image from our code, and docker-compose.
Angular’s Environment variables
By default, the Angular CLI creates an src/environments folder which contains environment files. Initially, there are two files: 1) environment.ts and 2) environment.prod.ts.
The environment.ts file is used for a development environment, while the environment.prod.ts file is used in production environments. These files are both referenced in the angular.json file.

The fileReplacements array is angular's environment key, since it is used to indicate which file will be replaced when production configuration is used.
In our code, we only need to import the object from the environment file to use our environment variables. The following code shows a component which imports said environment file.
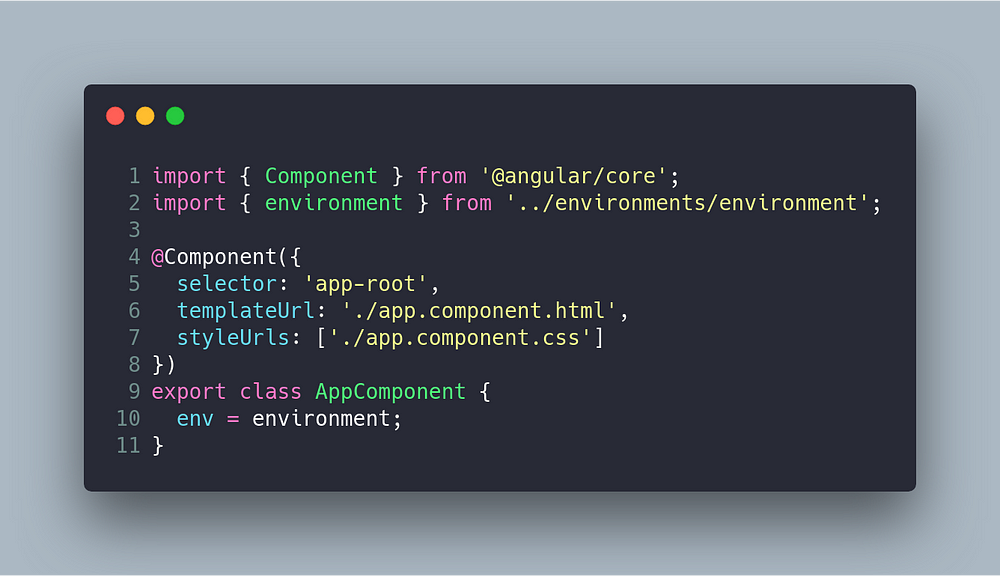
The method to switch between different environments is to use the --configuration option , which may be used in both ng serve and ng build commands:

We can have as many configuration environments as we like. For example:
environment.test.ts. This configuration can be used to change several variables in unit test environment.environment.e2e-test.test. This configuration can be used to change several variables in e2e test environment.environment.qa.ts. This configuration can be used to change several variables in QA environment.
Therefore, the content of our environment files is the following:
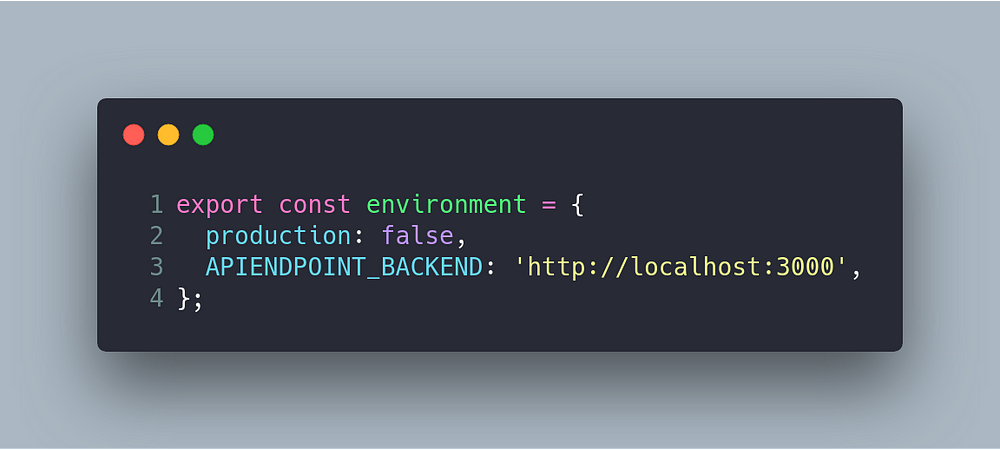
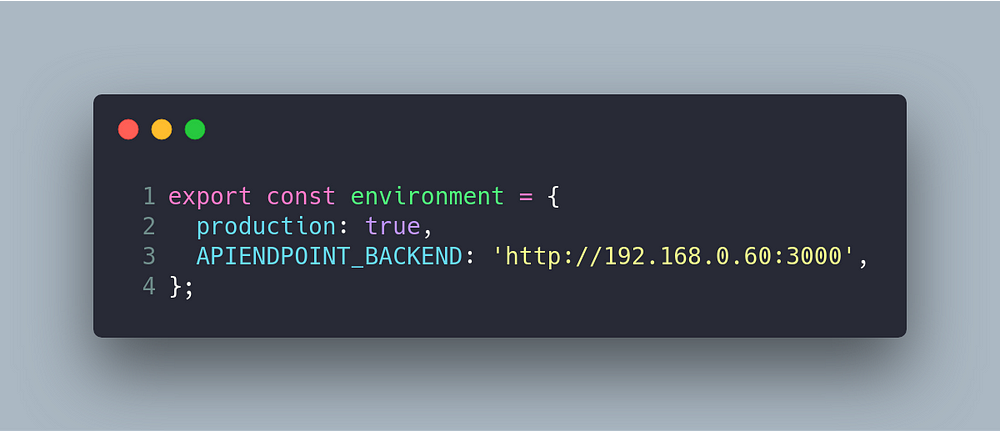
The variables which change between environmnent files are APIENDPOINT_BACKEND
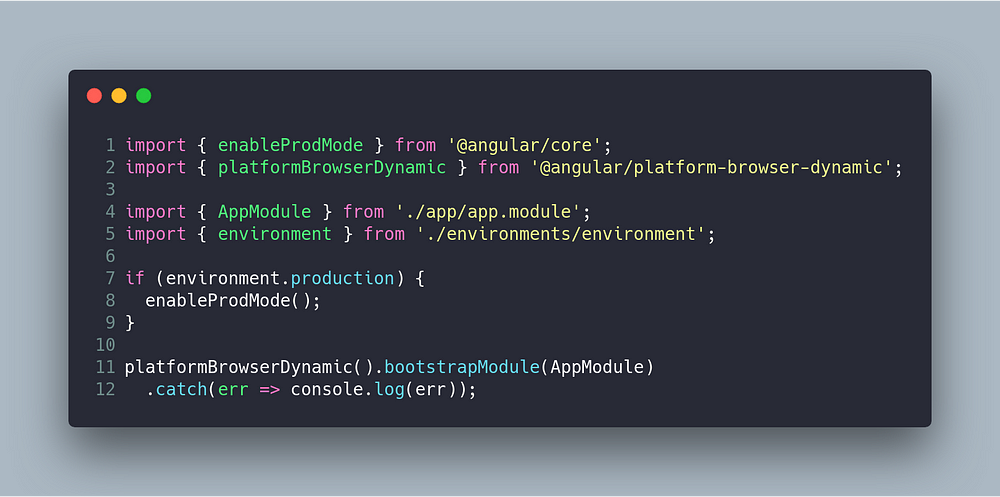
and production. The production variable is used in the main.tsfile to call the enableProdMode which is used to make several optimizations in the final bundle.
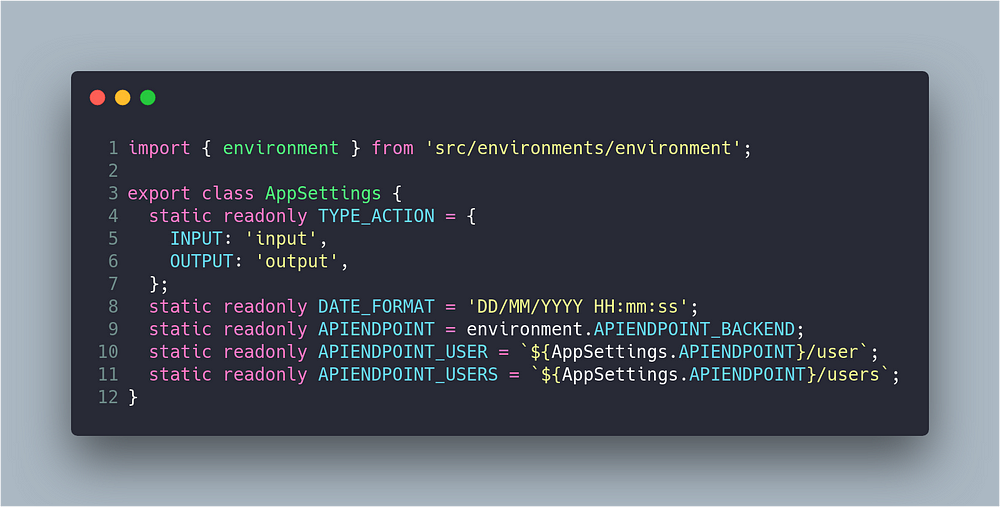
In our project, there is a file which contains the project’s constants. This file contains the list of endpoints, which are relations using the APIENDPOINT_BACKEND. The idea is to use the environment file (environment), as you may observe in the following code:
Deploy: Docker and Docker-compose
The idea is to use the same environment in both development and production. In this context, Docker is the perfect tool, due to it allowing us to configure different containers, which switch the environment’s configuration. We need to build our own image, a docker container, which will be orchestrated by using Docker-compose.
Docker
Our dockerfile file is based on the nginx:alpine image, due to the project not needing a system library. This image merely copies the nginx.conf configuration and the angular project after it built to distribution using the command ng build --configuration=prod.

It is very important for the angular code to be deployed in a webserver, such as apache or ngnix.
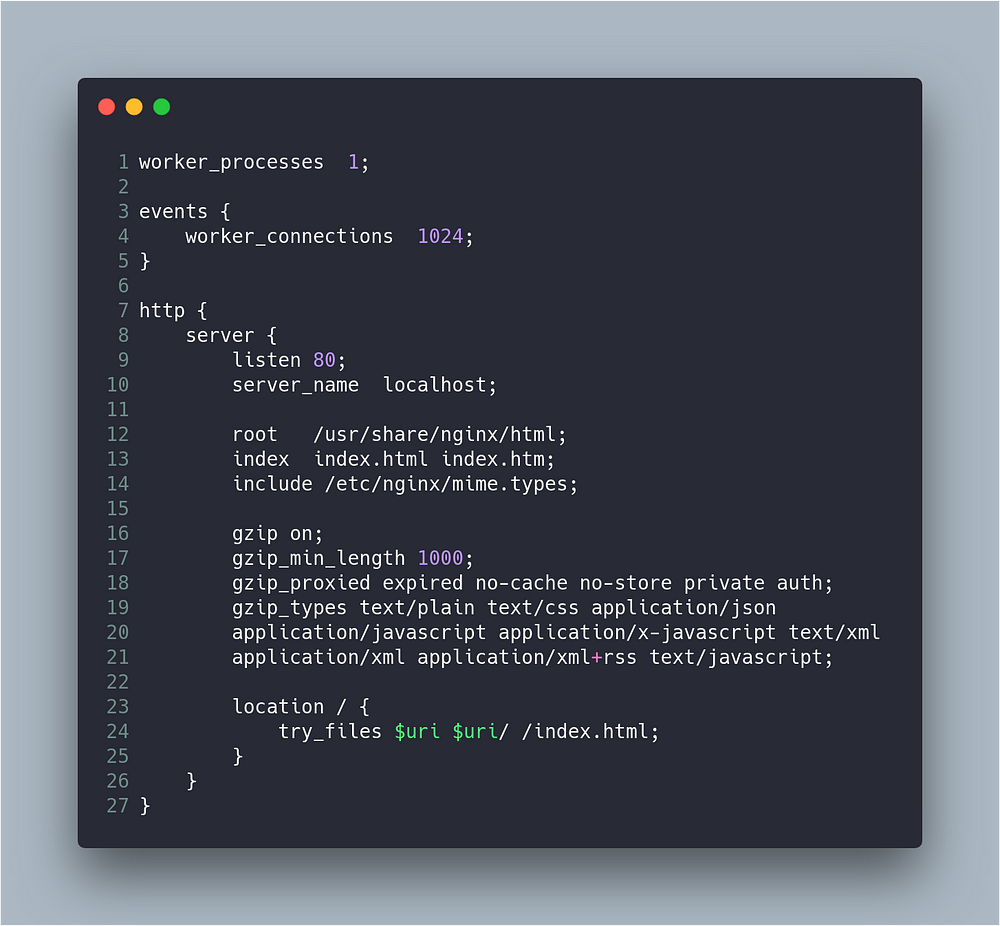
The nginx configuration is now the following:
Docker-compose
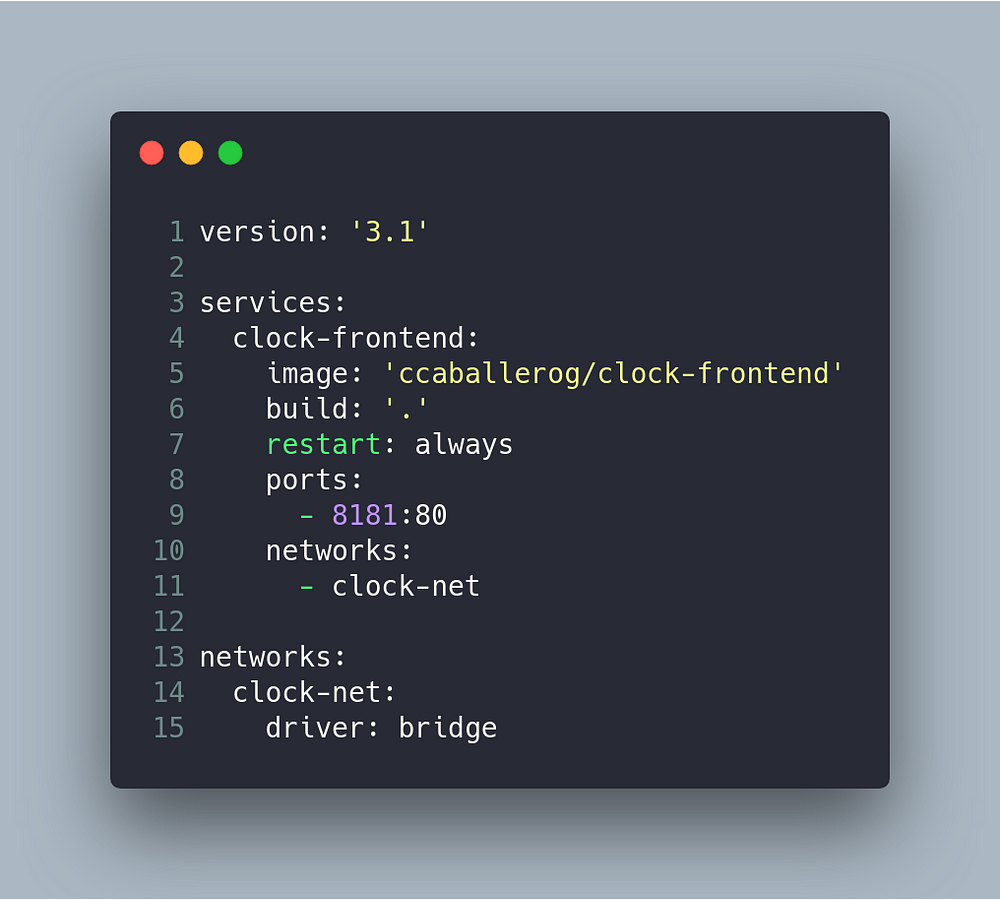
In our project, we have a docker-compose file which is used to deploy our docker image. The file is very simple, since it merely deploys the container which contains the compiled code of our Angular project.
Shell script to deploy
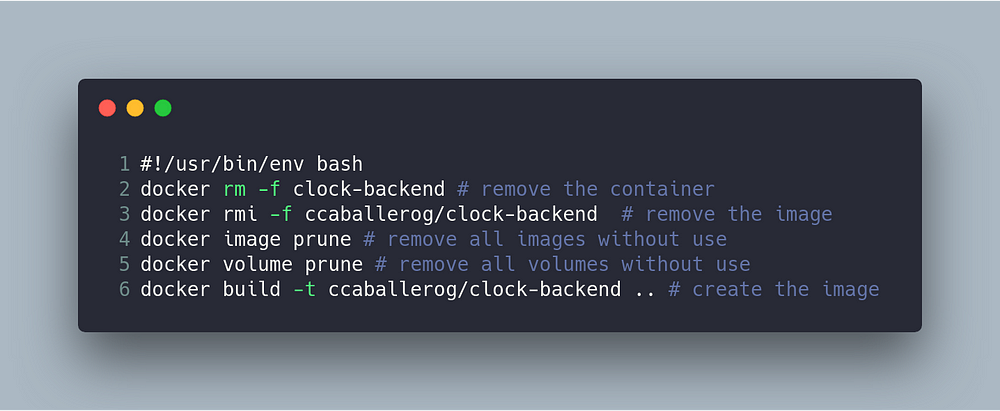
The last step of our process would be to automate the construction and execution of the containers. I have two scripts to do this task; the first script creates the image (first removing the image, should there be one) and the second script deploys the code by using docker-compose.

Conclusion
In this post I’ve explained how you can deploy your frontend with Angular by using docker and docker-compose. The most interesting feature of this code, is the fact that we can load our own environment variables, switching between development and production environments using Angular-CLI.
Originally published at www.carloscaballero.io on February 15, 2019.
